Last year I made a bunch of Bottle Openers out of Maple. The openers were cut using a jig and created a pile of little wedges as waste material.

Rather than trash them, I let them sit on my bench while I contemplated what to do with them. I floated the idea of gluing them together into a circle but I didn’t have enough pieces to make a full circle.
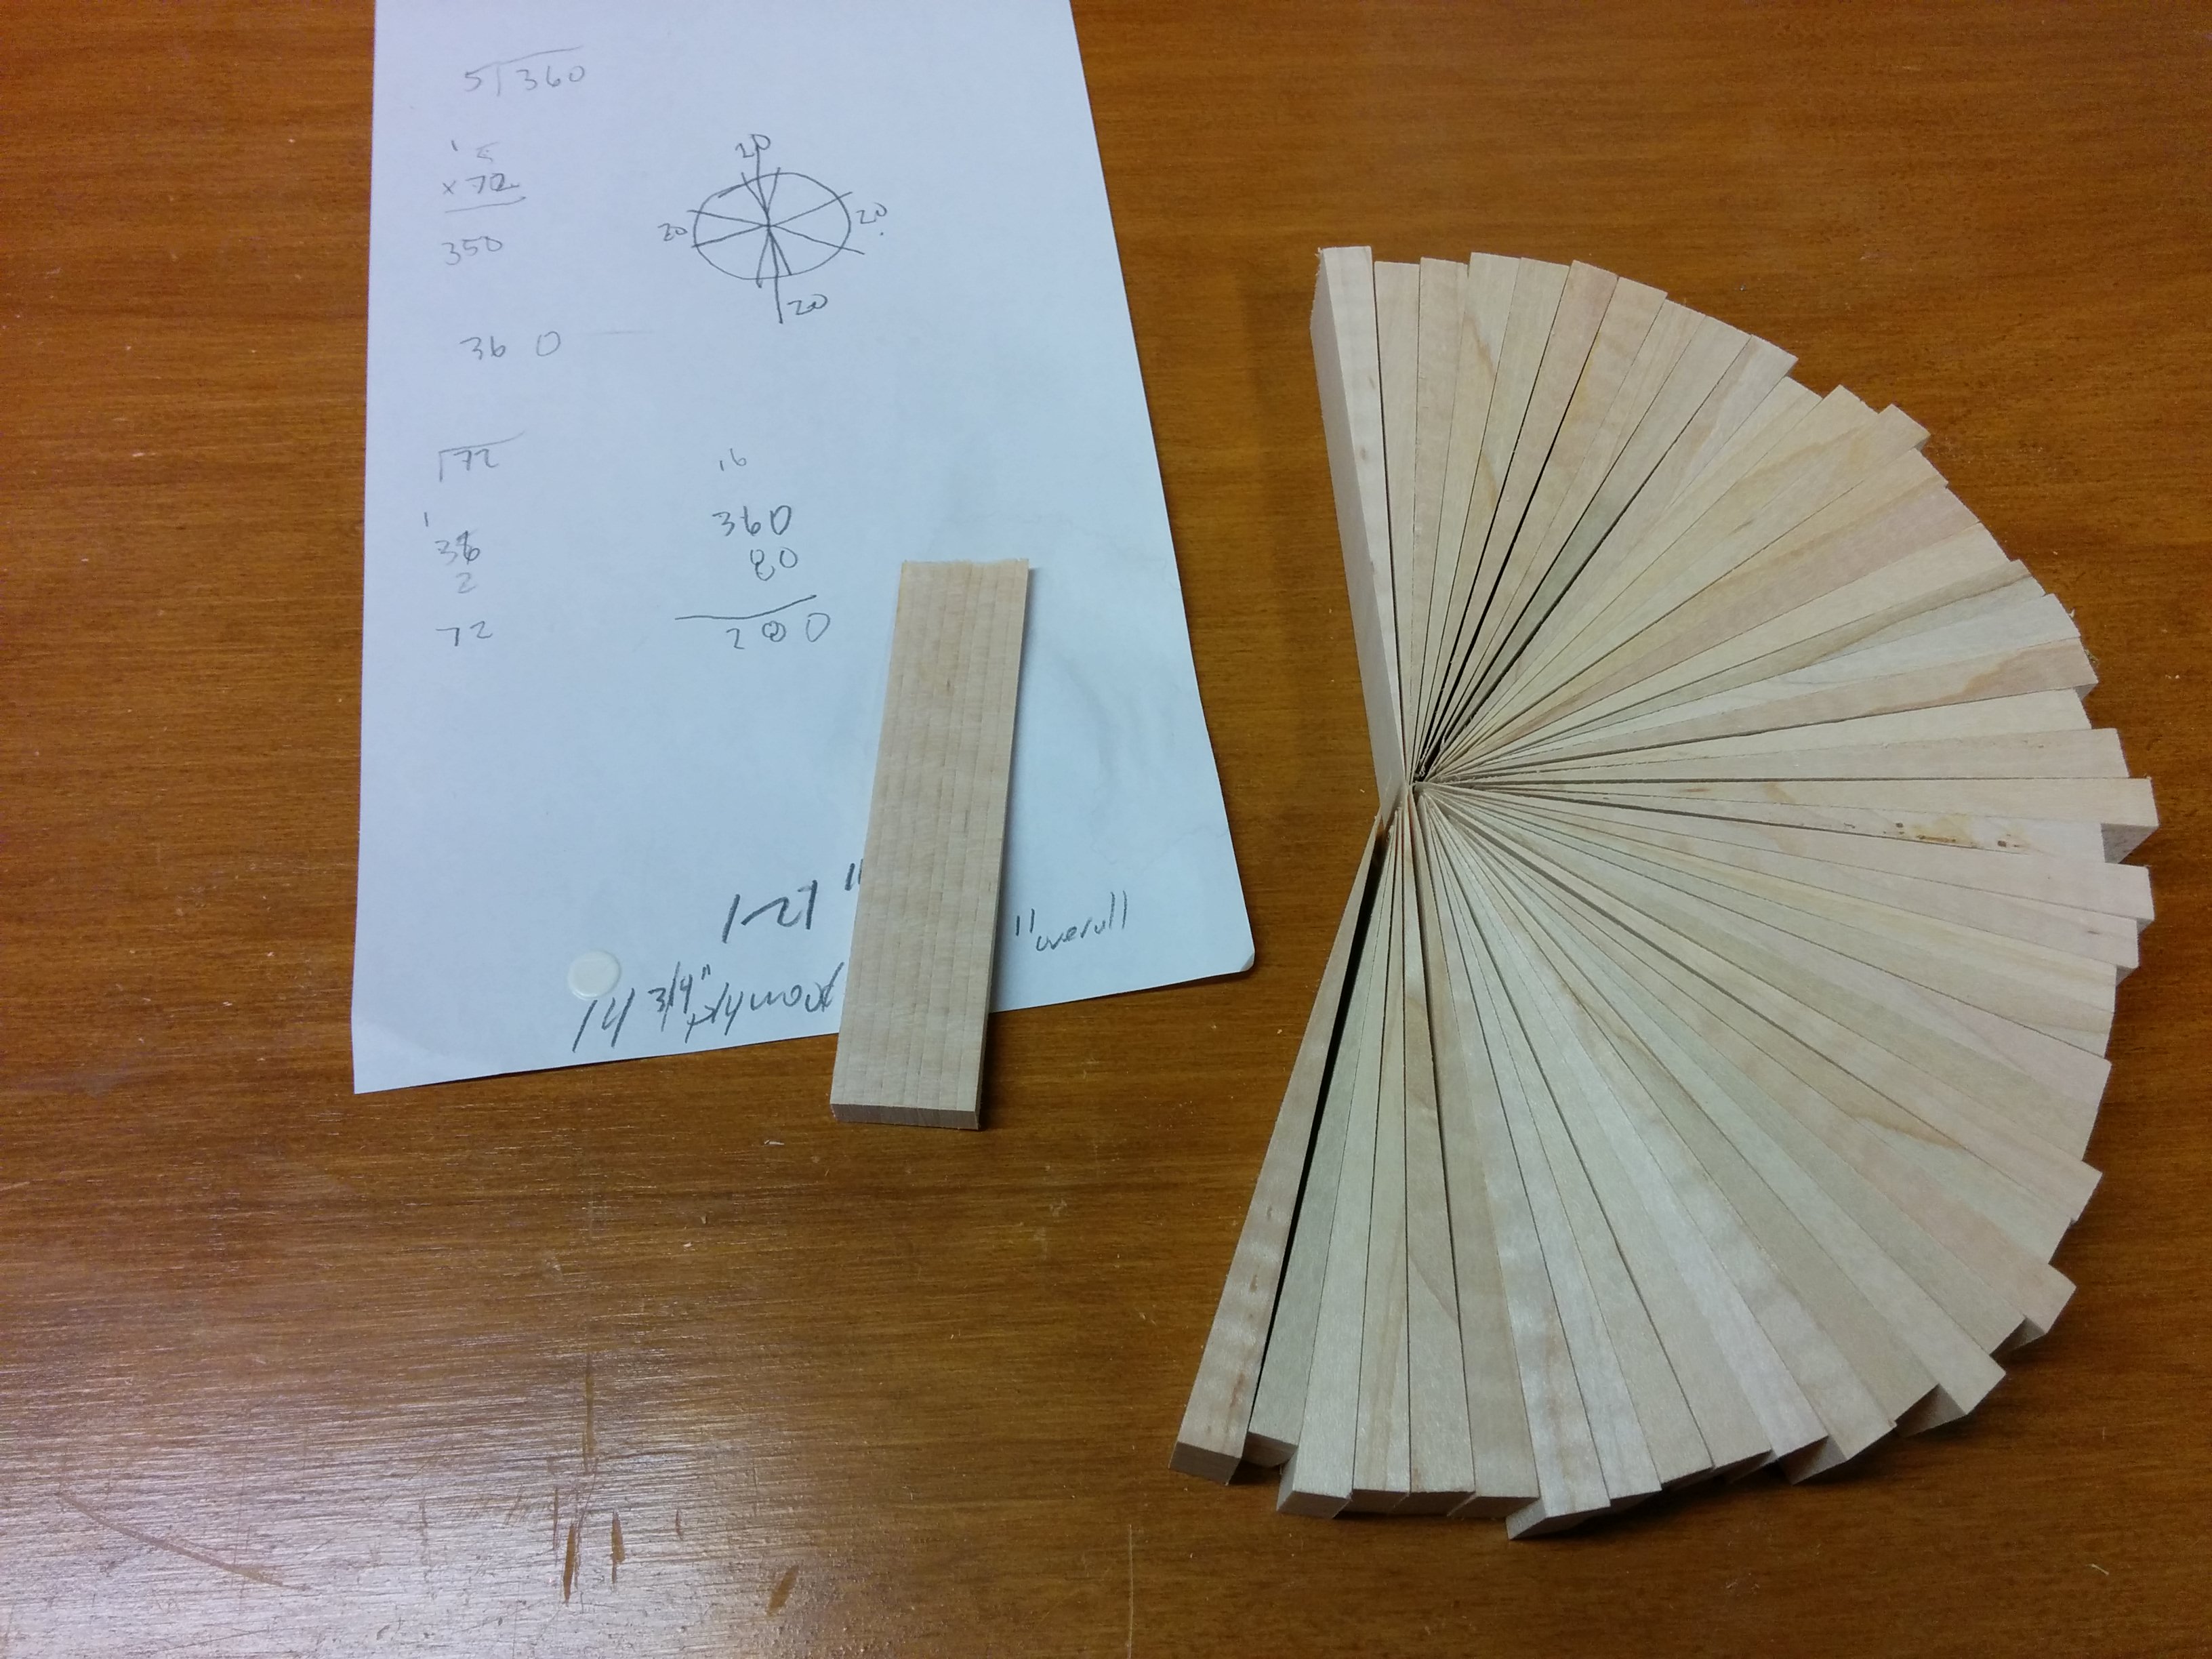
Above you can see all of my various calculations done in an attempt to determine how many more wedges that I would need. After almost a year sitting on the bench, I decided to finish this project by first making some more bottle openers to have more wedges and then glue them together to make a clock. The calculations went out the window and I ultimately just used enough wedges to make a circle since the new ones were slightly smaller than the originals.

As it turned out, making 11 more Maple bottle openers was still not enough wedges to make a circle. So I made a few more out of pine in order to have enough to finish the project.
Now that I had enough wedges, I set about gluing them together. To accomplish that, I put some screws through a piece of pegboard in order to hold my rubber band ‘clamps’ at the ready while I applied glue to all of the wedges.

And here is the clock starting to take shape after the glue was applied and the rubber bands put around it.

It turned out that the points of the wedges didn’t really line up to make true center point. It looks more like a pinwheel but I think it still looks pretty neat despite not being a perfect circle. The next step after letting the glue dry overnight was to sand down both sides of the clock to remove all of the glue from the surface.

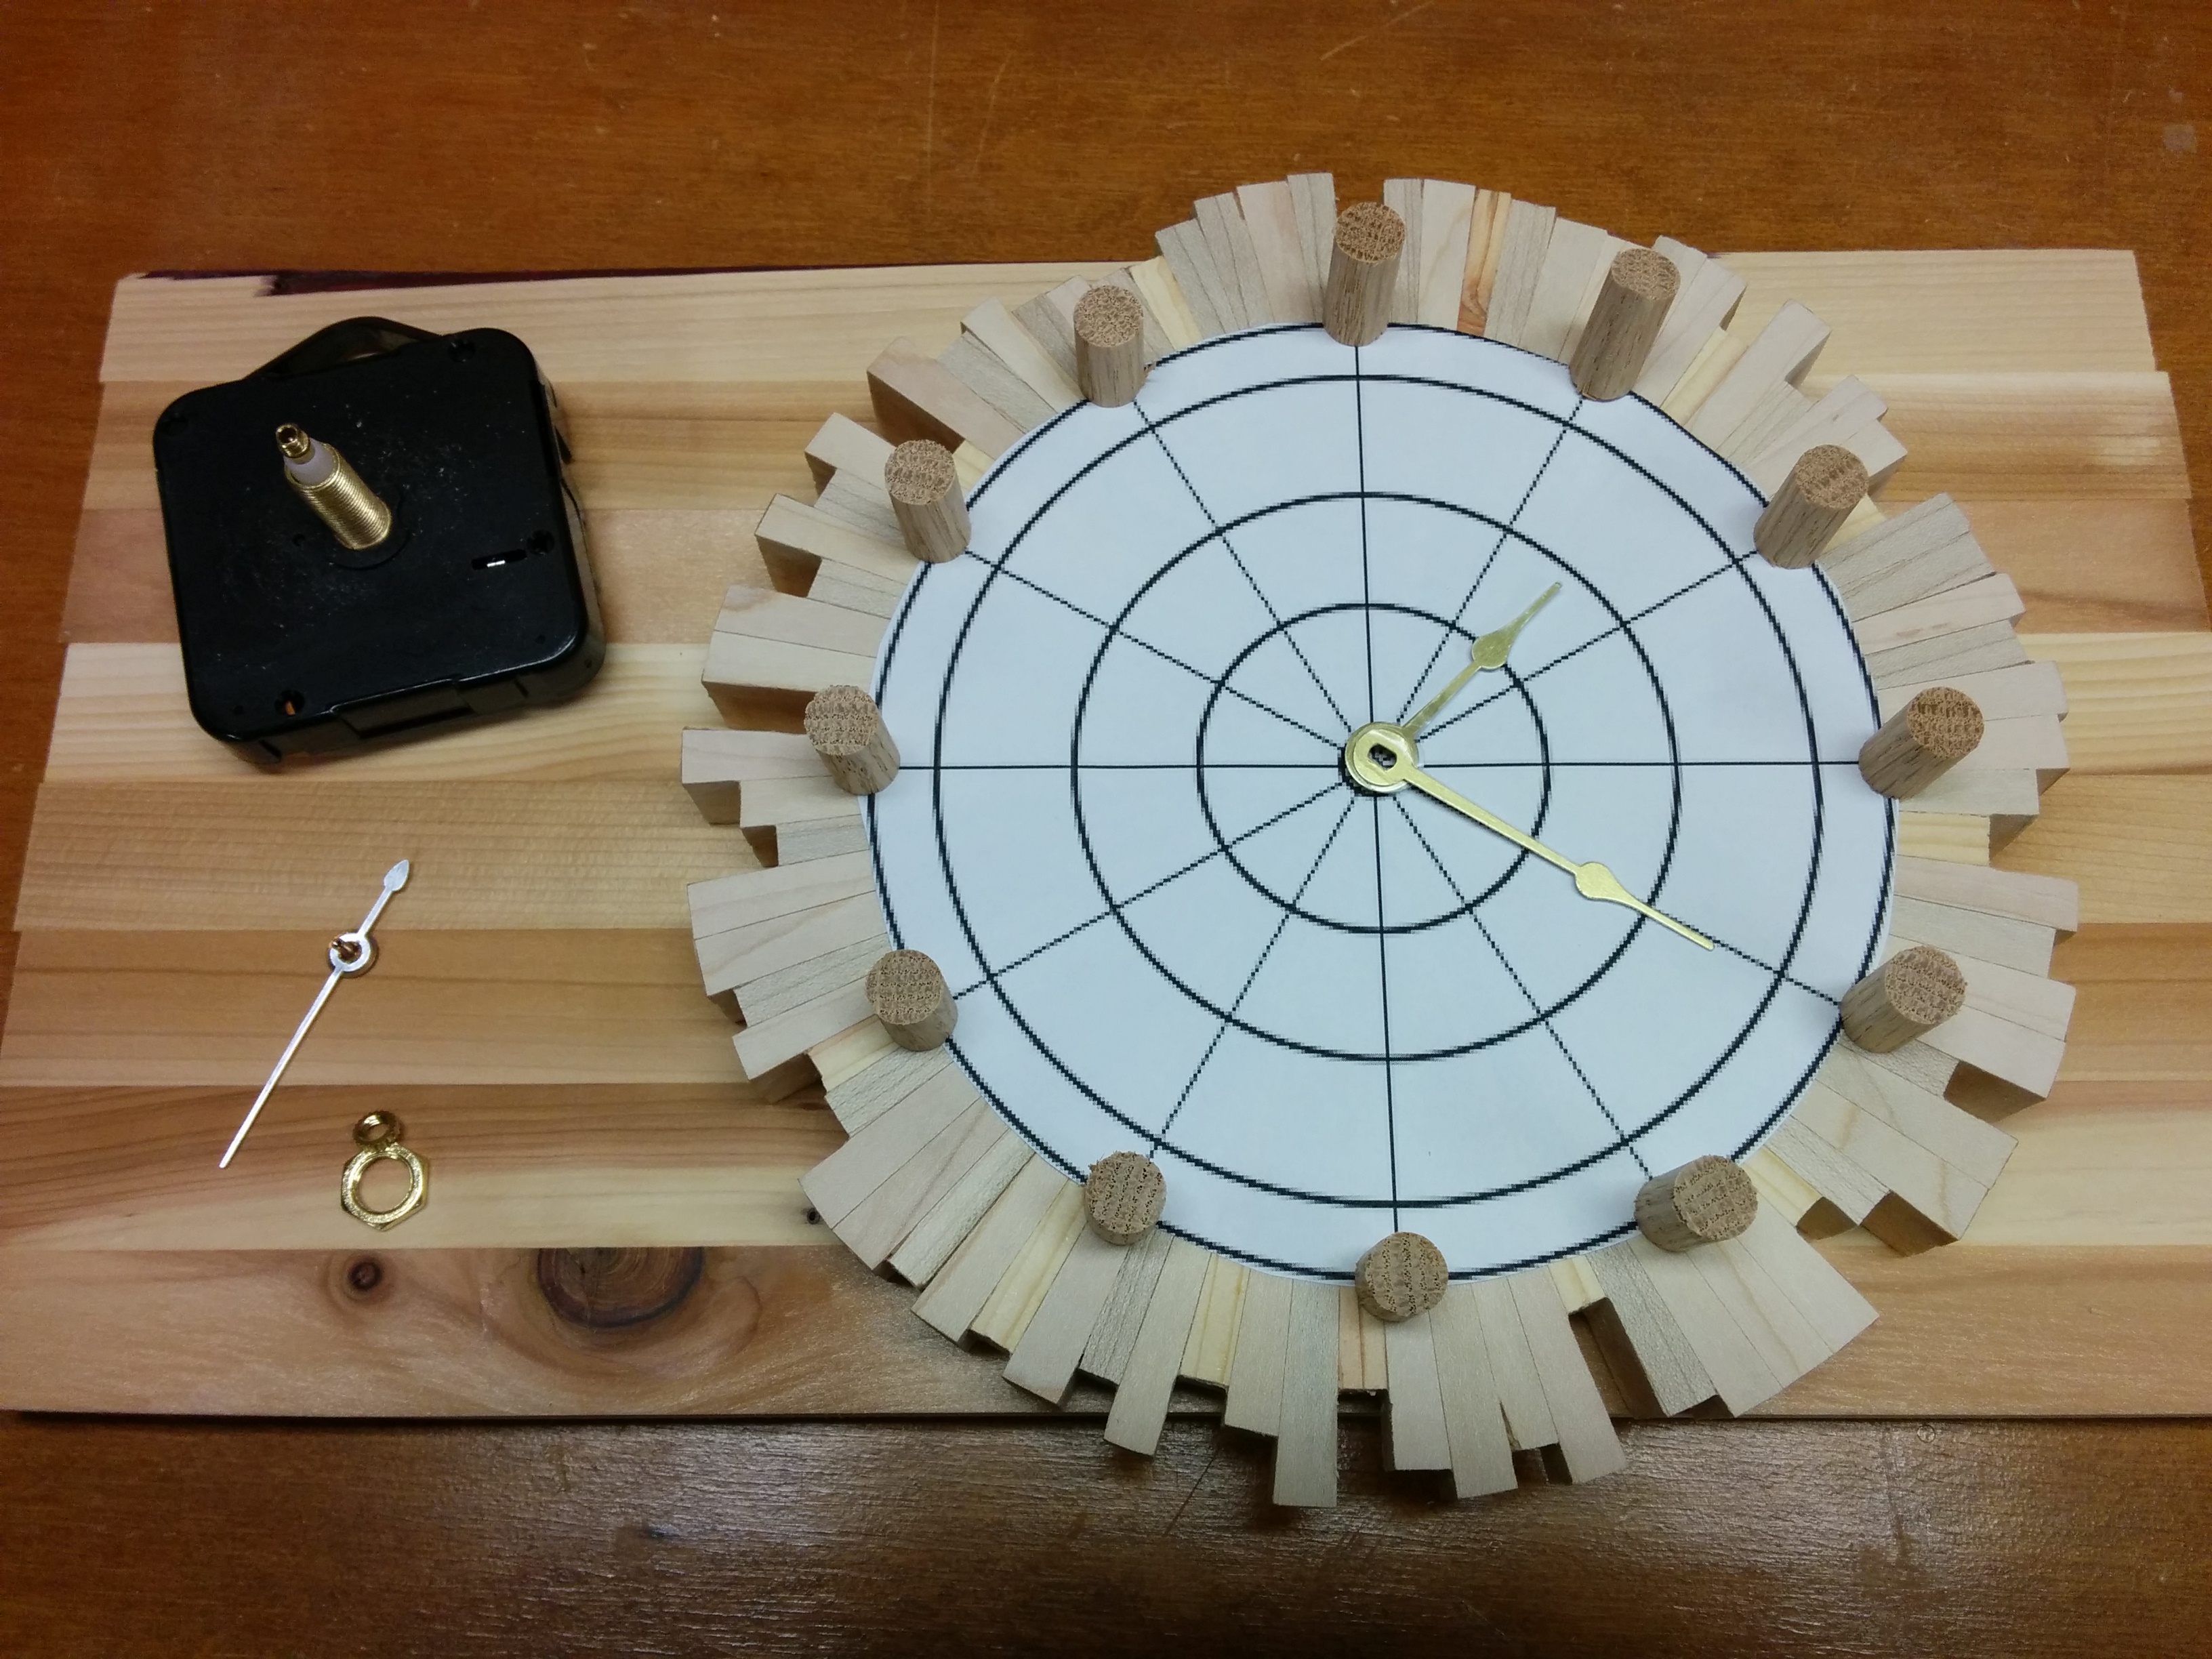
I decided to add ‘dots’ to the clock in the form of 3/8″ oak dowels. I printed out this clock template and placed it on the face of the clock using a point of a nail to mark the center point of each dowel hole that needed to be drilled out.
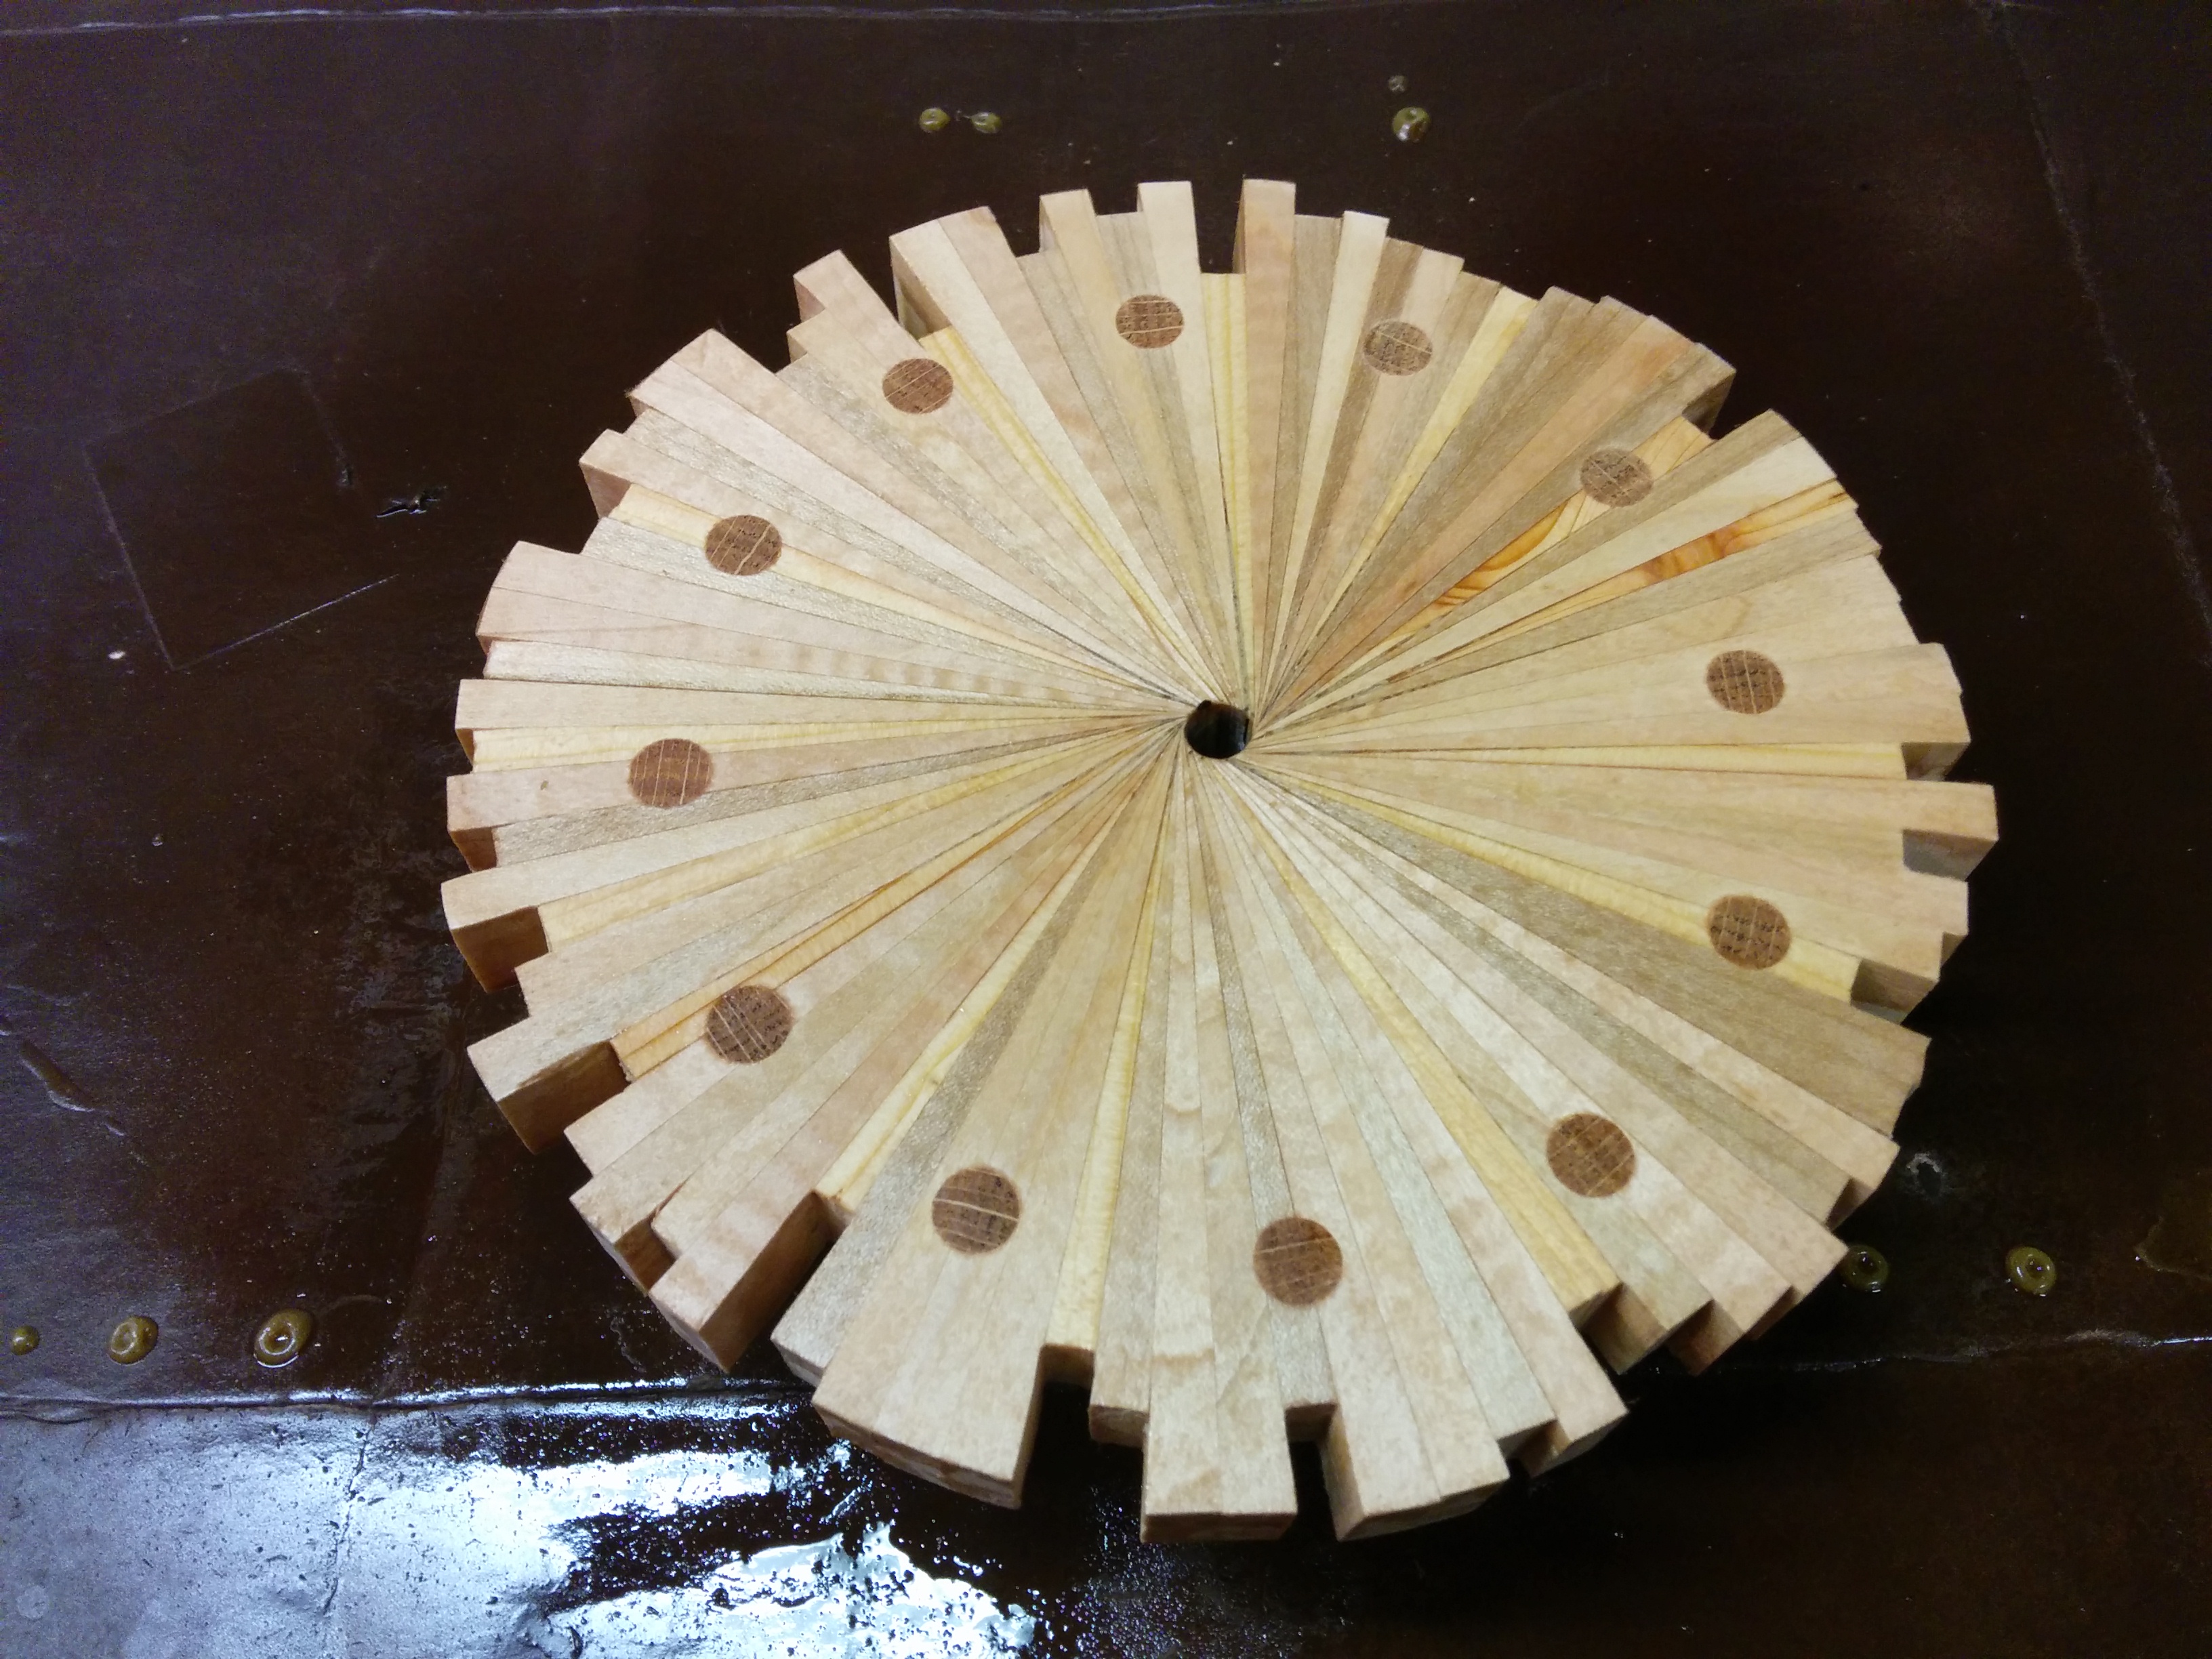
Once the holes were drilled, I glued in the dowels.

The dowels were sanded flush and then several coats of polyshades oak satin finish were applied.
After painting the clock hands brown, I installed the clock movement.

The finished clock now adorns my kitchen wall.

Recent Comments