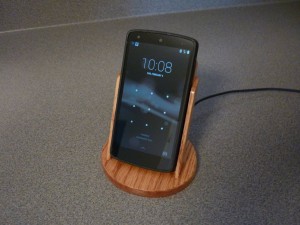
I recently bought a wireless charger to go with my Nexus 5. I liked the concept of wireless charging, but I didn’t like the mechanics of laying the phone down flat on a desk and having to slide it around to find the sweet spot where it would attach to the magnets in the charger. I decided to make a stand to house the charger that resembled the charging cradles that used to come with older cell phones.
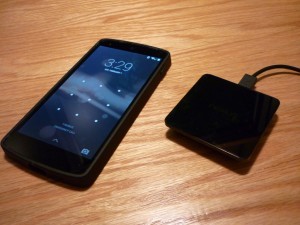
The Nexus wireless charger is a small, square shaped device that charges compatible phones and tablets. It is powered by a plug-in USB power adapter. When the phone or tablet is placed over the charger in the right spot, magnets in the charger will hold the two together. The phone or tablet will make a special sound indicating that charging has begun.
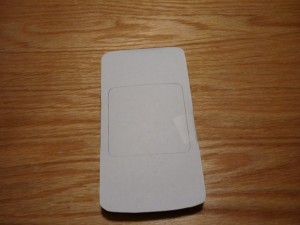
I started making my charger stand by tracing an outline of the phone on a piece of paper. I then cut out the template and taped the sides to the phone. Next I took the charger and placed it over the paper on the back of the phone and positioned it in the right spot for charging. I then traced the outline of the charger on the template.
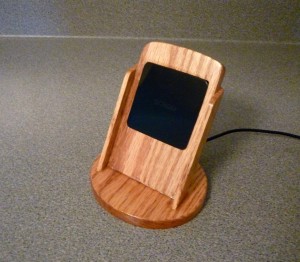
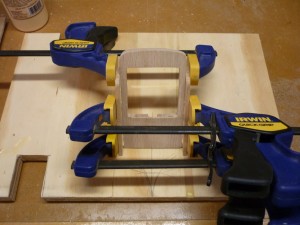
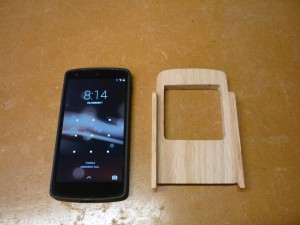
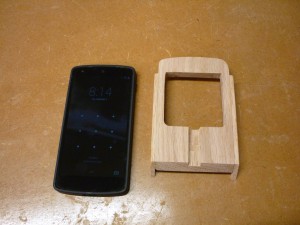
The back of the stand is a piece of 1/2″ red oak with a cutout that holds the charger in the proper position to make contact with the back of the phone. The bottom is cut at a 30 degree angle. The height of the back piece is approximately 3/4″ shorter than the overall height of the phone to allow a place to grab the phone when removing it from the charger. The arc of the top matches the arc of the phone itself. The overall width of the back is about 1/16″ wider than the phone to allow a slight gap when placing the phone into the charger. The two side pieces are glued in place to provide a cradle to position the phone in the charger.
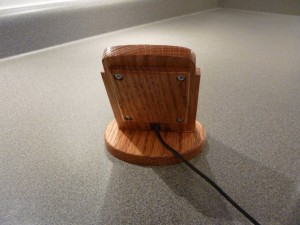
The reverse side of the back has a grove chiseled into it to allow space for the micro USB connector and wire that powers the charger.
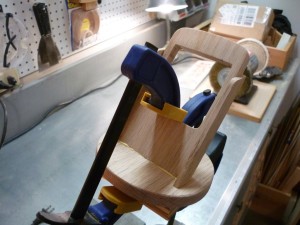
The charger assembly is glued on to an oval shaped base of 1/2″ red oak.
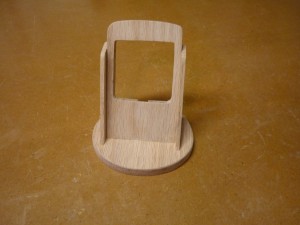
The completed charger base before finishing.
The back side of the charger has a cover plate installed to hold the charger in place.
The completed charger finished with Minwax #210B Golden Oak stain and two coats of polyurethane.


Can I buy one of these?
I am flattered. What kind of price point would these go for?
I’d be willing to bet these would be worth $40-$65 if you wanted to sell them.
I’d love to buy one of these, it would be a great gift to give to my dad. Are you selling still?
Thanks for the question. This one was a one off. I would consider making them if there was enough demand.
Hey, this is good work I love it. Instead of buying one, could you give us your plans with mesures please?
Oops, I didn’t see this until now. The back panel is 2 15/16″ wide and 4 13/16″ tall. The cutout is 2 3/8″ square and approximately 3/4″ down from the top. The base is 4 1/4″ x 3 3/4″ circular. The angle of the back panel is 30 degrees back from vertical.