If you have a Nortel Norstar 3×8 or 6×16 phone system that stops working, it is probably the power supply that is faulty. I have a system that has been in operation for over 18 years that recently stopped working. After a storm, the arrow indicators on one of the phones were flashing and there were no other signs of life. I initially thought that the KSU was fried because the voltages on the power supply tested good, so I purchased another old on ebay. But when I hooked it up with my original power supply, the phones all were still not working. So I put the original one back in and plugged it in with the ebay power supply and it immediately came back to life. I decided to see if I could fix the original power supply and I pleased to say that it now works fine after spending about $12 to replace two capacitors.
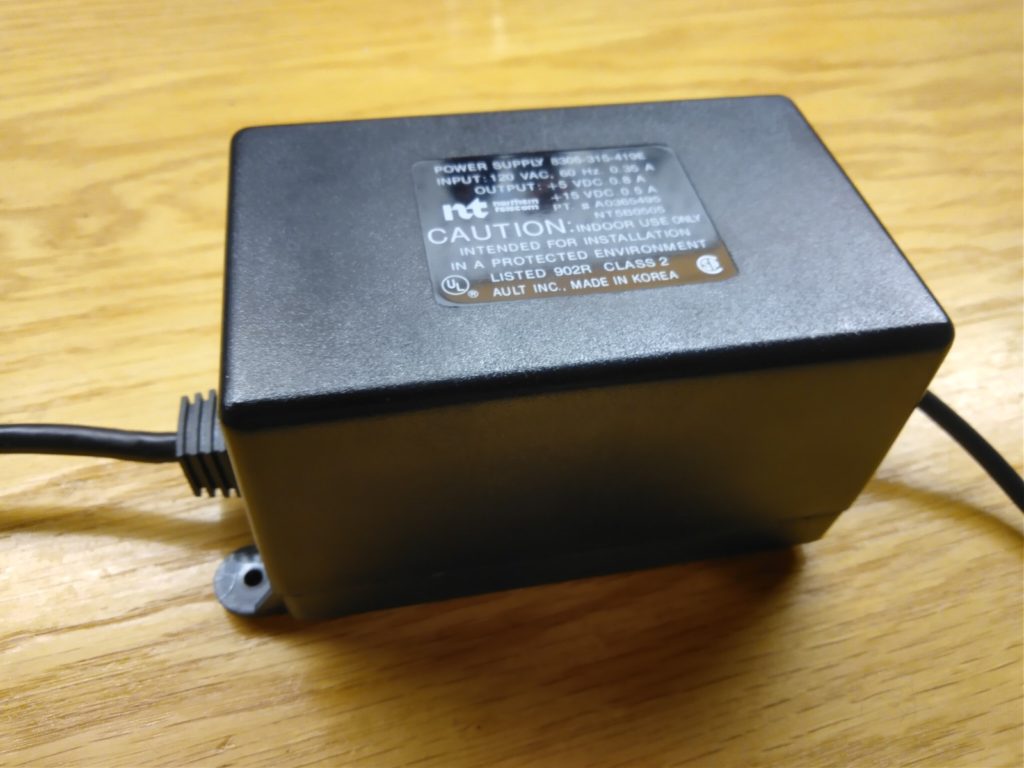
The part numbers on the power supply are:
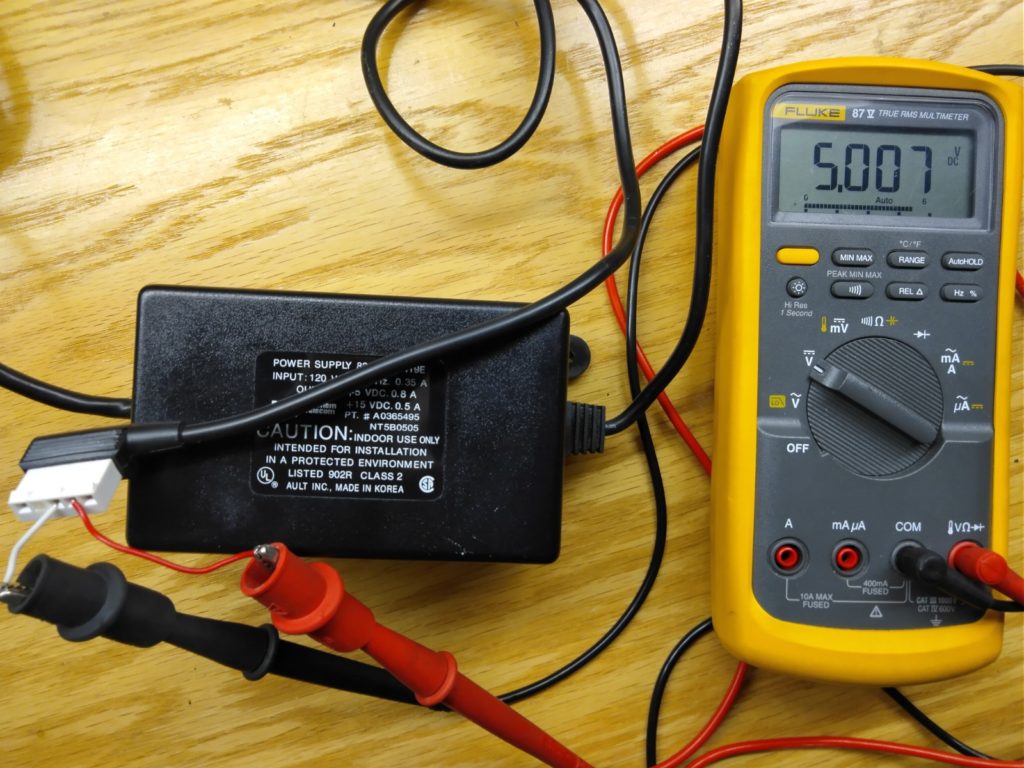
8305-315-419E
A0365495
NT5B0505

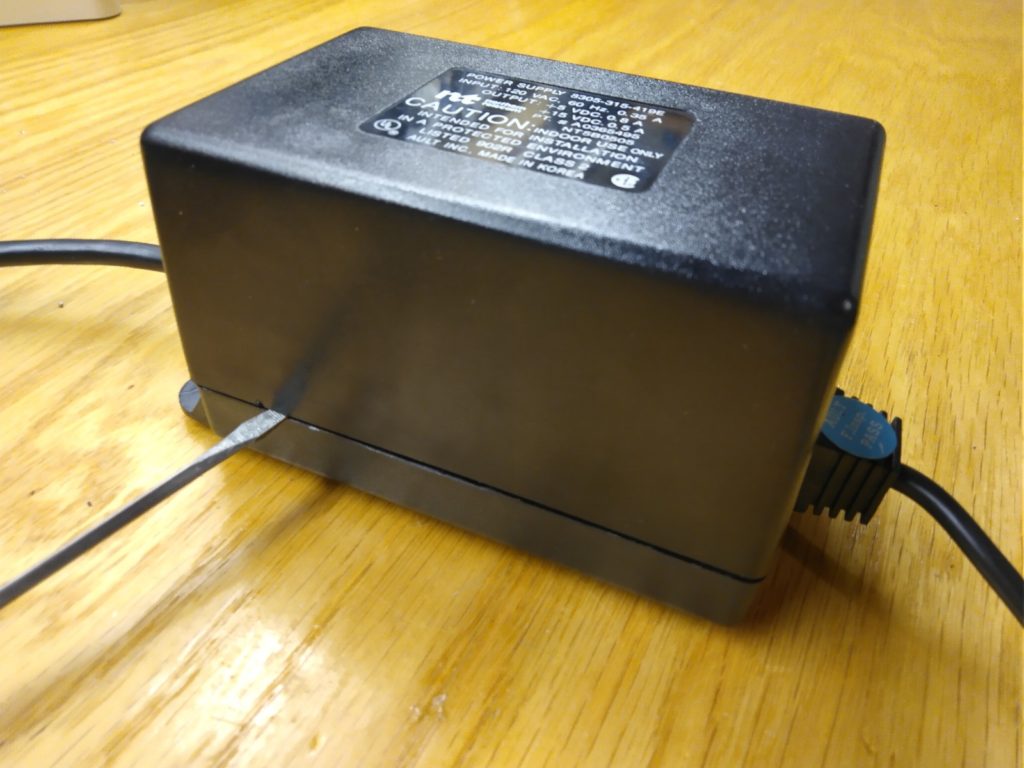
Start by opening the case. The two halves of the plastic shell are fused together. Insert a screwdriver in the seam and start prying the case apart. On mine, the plastic weld was starting to fail so I was able to pull the two pieces apart without breaking them.
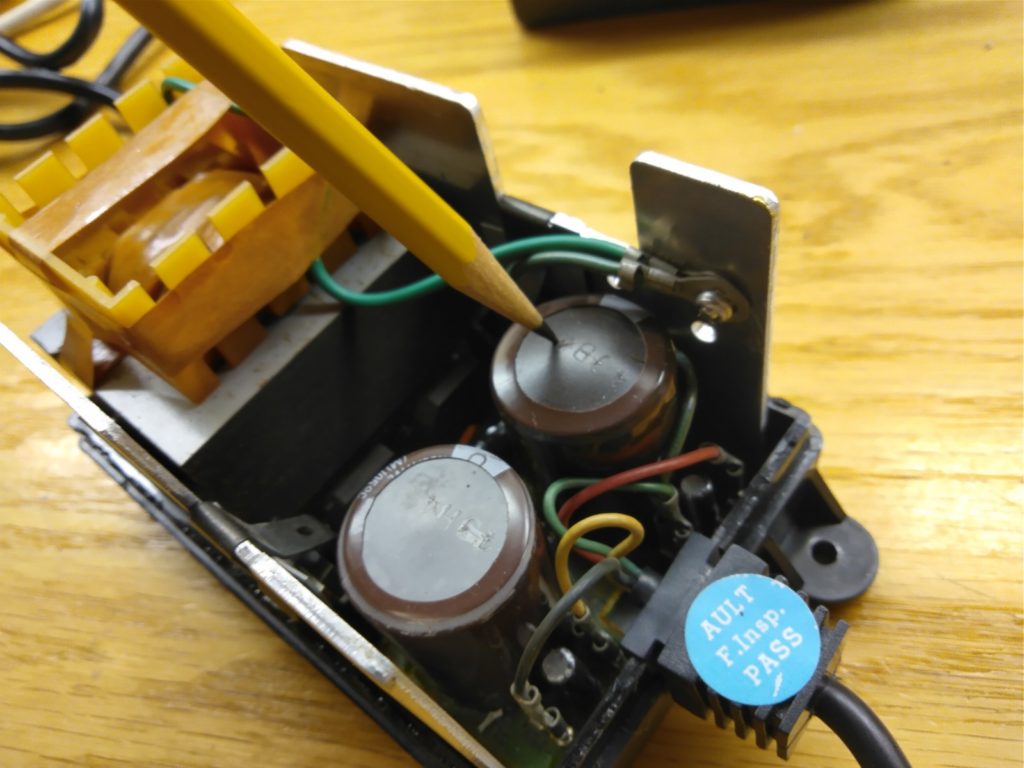
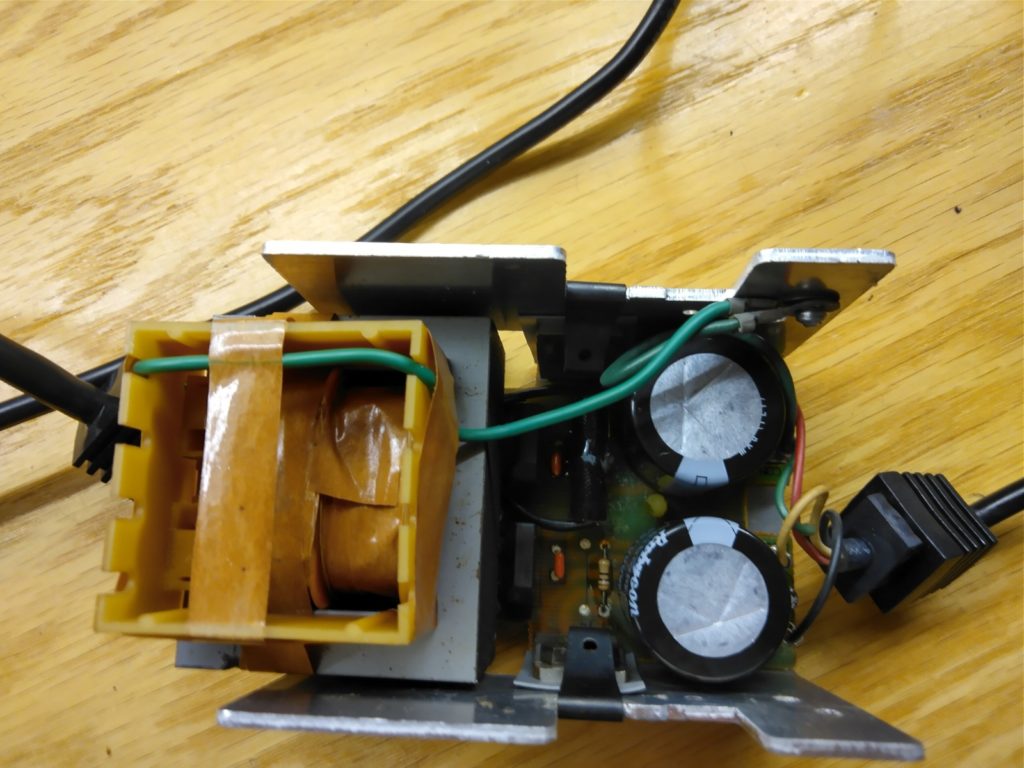
The view with the cover removed:
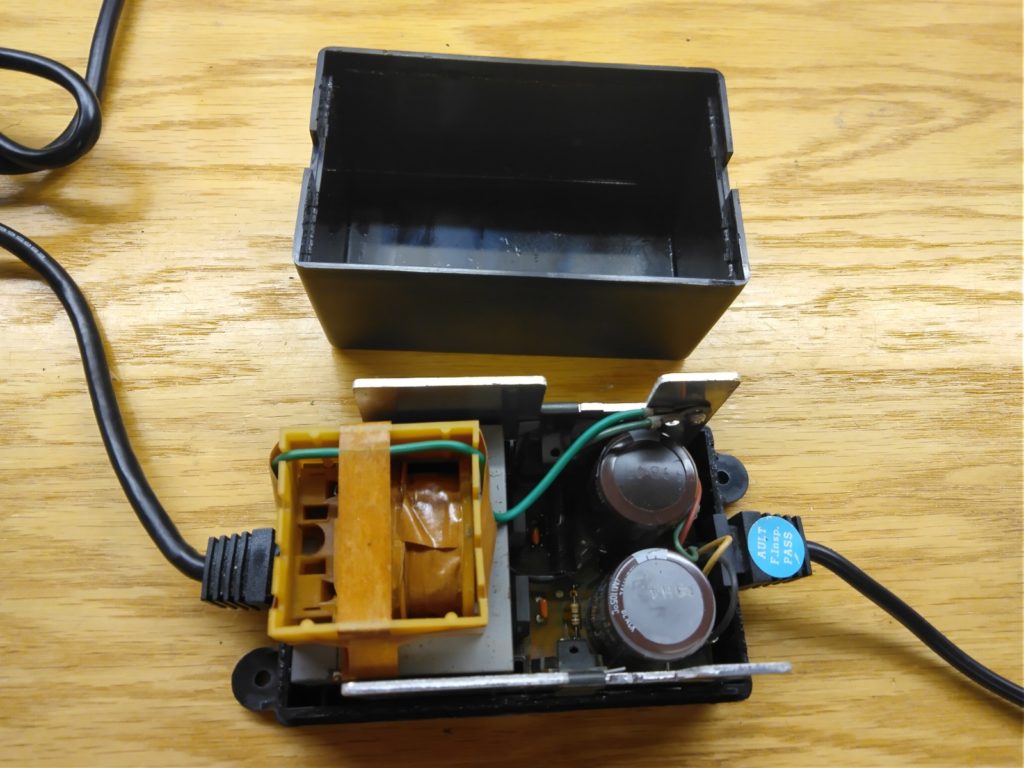
It look like one of the capacitors had bulged:
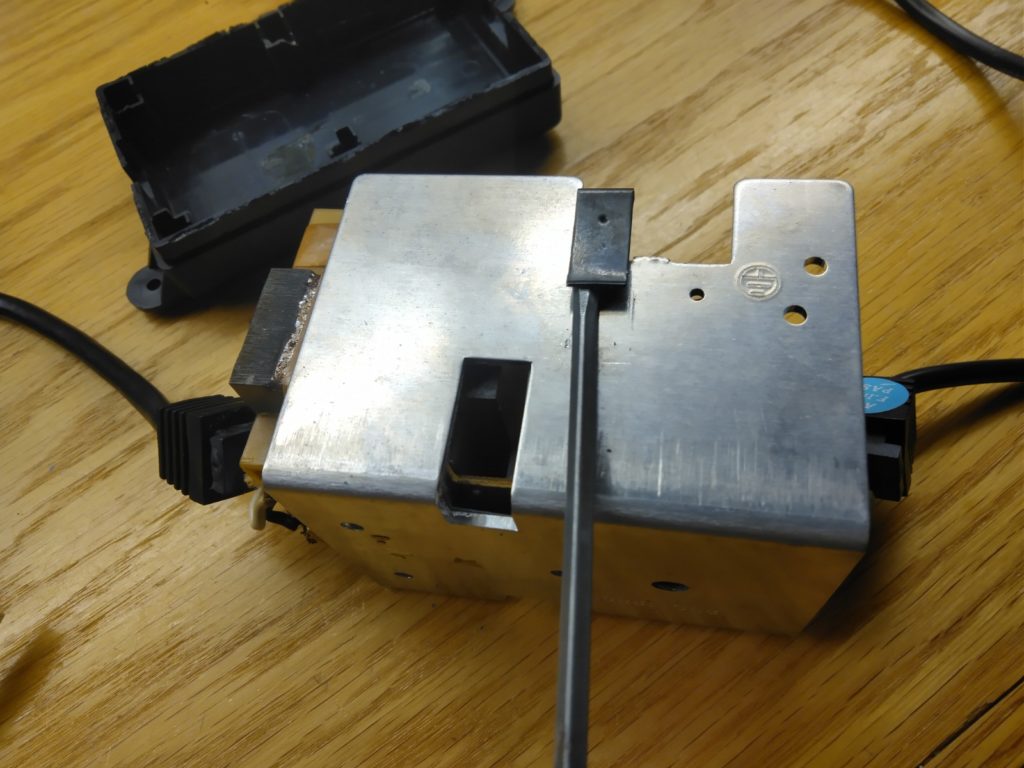
Time to replace some capacitors. Start by removing the frame from the bottom part of the case.

Now remove the two clips that are holding the voltage regulators to the heat sink.
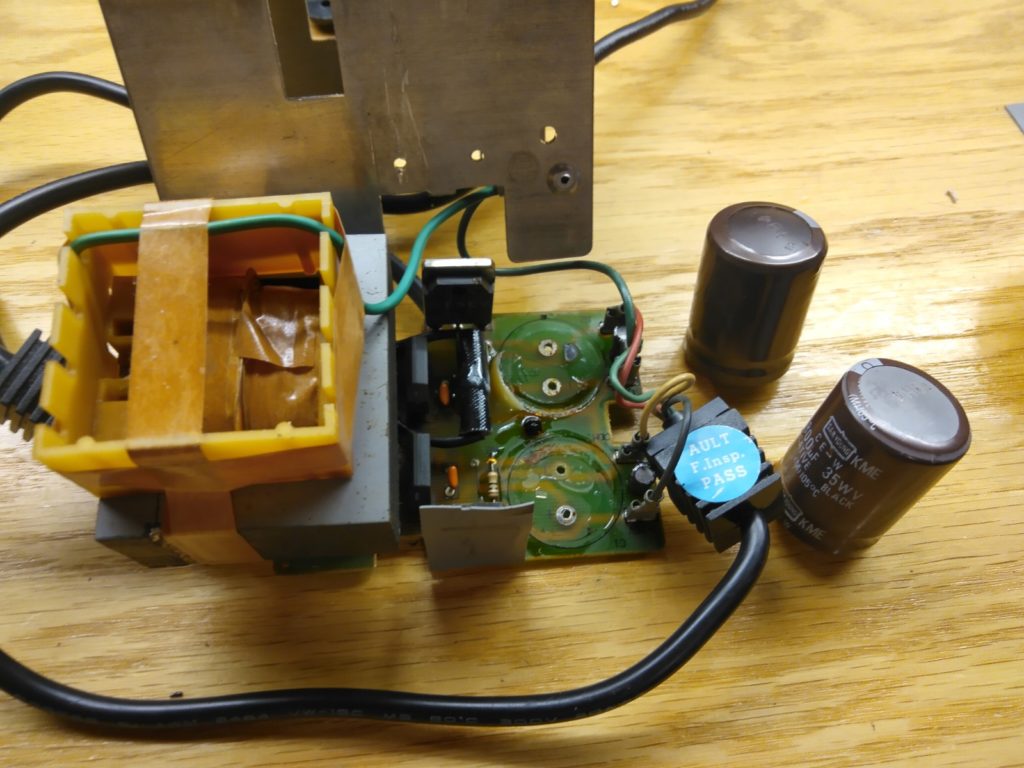
Now the circuit board can be removed from the heat sink. The ground wires are riveted to the heat sink so it will still be tethered to the board. In this picture I have de-soldered and removed the two main capacitors.

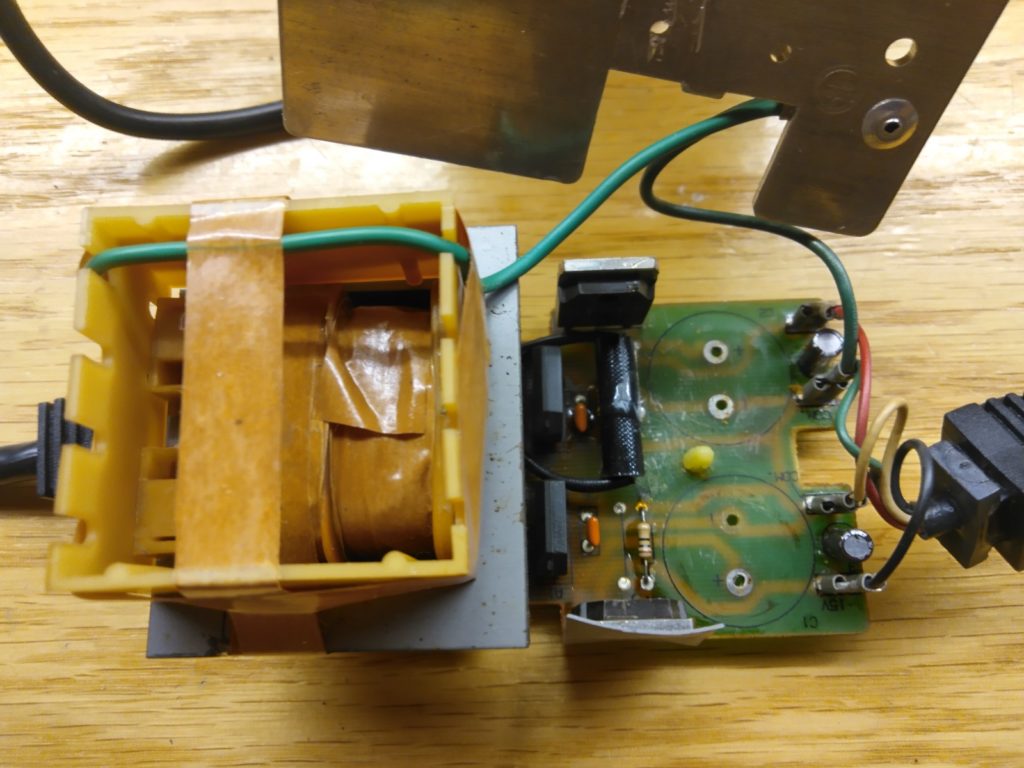
The board with the capacitors removed.
Next I cleaned the glue and flux off the top of the board as much as possible.
I broke the small black spacer cleaning the board, but replaced it with a computer motherboard standoff clip. I think it is mainly an alignment pin for assembly so it probably could have been left off.

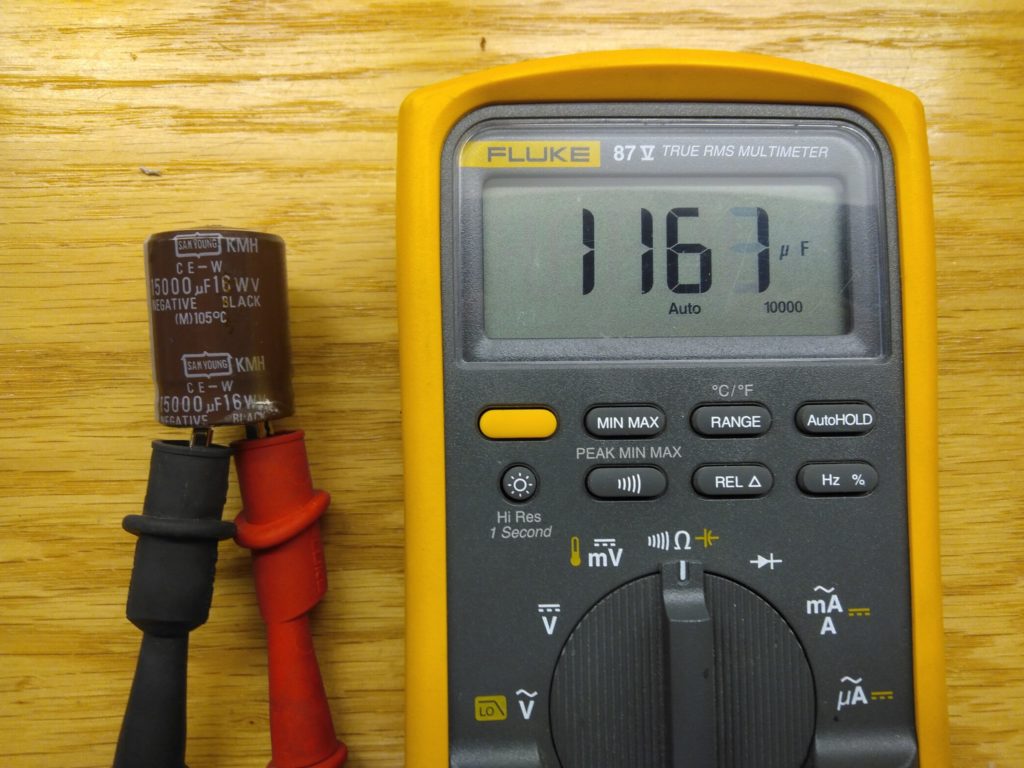
Lets take a moment to check the old capacitors:
The first one is only showing 4969uf instead of the rated 6800uf (27% loss of capacitance).

Now the other one. It only has 1161uf instead of the rated 15000uf (92% loss of capacitance). No wonder the phones didn’t work!
And now the replacements… I used Rubycon MXG series with the same values as the originals (6800uf at 35v and 15000uf at 16 volt).

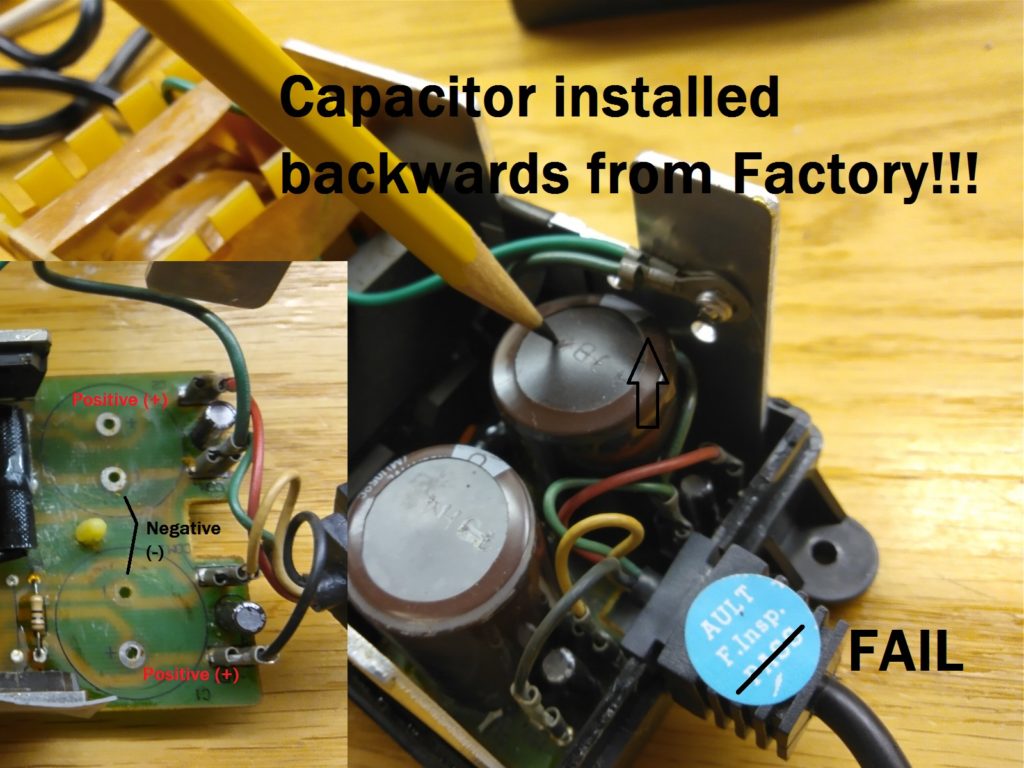
Replacements installed. Be sure to match the polarity properly. The negative side of the capacitors with the stripe should face inward.

Another look with the heat sink clips re-installed. Make sure the insulator pads are still in place behind the ICs. But wait, something looks funny. Look at the capacitor polarity stripes compared to the before picture.
It looks like someone soldered the capacitor backwards at the factory. This is very bad for capacitors and would typically cause immediate failure (with bulging of the top). But somehow my system worked for 18 years despite this! So I am going to say that these systems are basically indestructible.
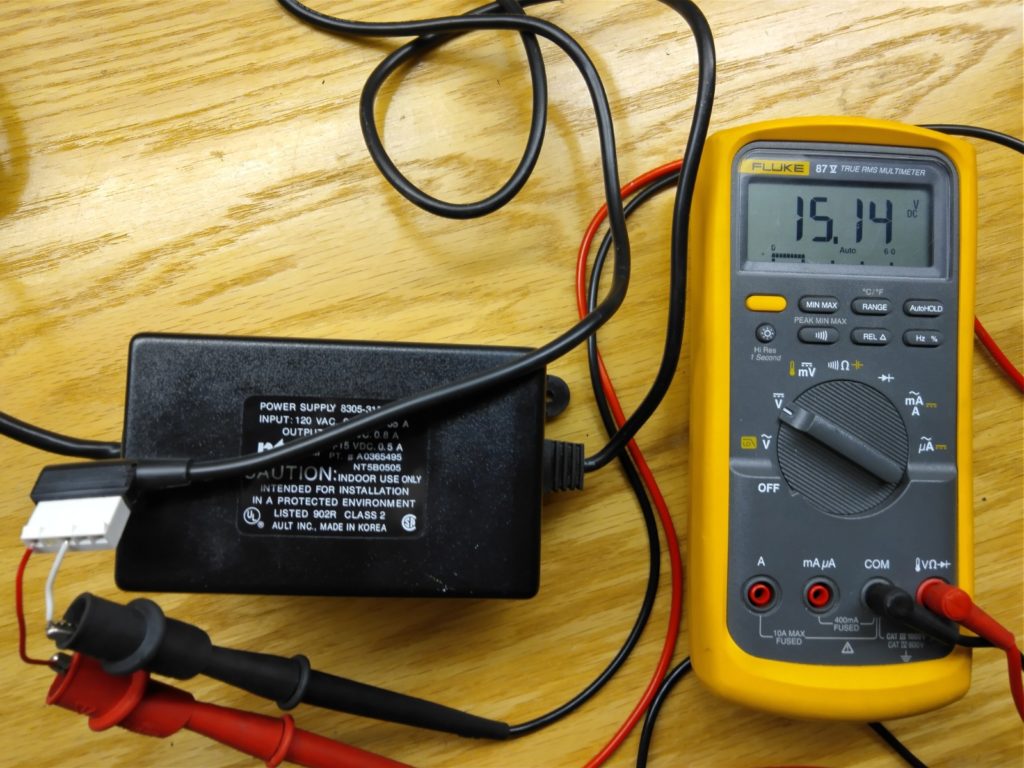
Now with the capacitors replaced. Lets check our work. The 15 volt rail looks good.
And the 5 volt rail is spot on.
Lastly I glued the case back together with model glue and clamped it while the glue dried. I used model glue because it does not have fumes that make a white spots on black plastic like super glue does. I think this power supply is now good for another 18 years.

Parts used:
Rubycon MXG 6800uf 35v volt 25mm diameter – DigiKey p/n: 1189-3907-ND
https://www.digikey.com/products/en?keywords=1189-3907-ND
Rubycon MXG 15000uf 16 volt 25mm diameter – DigiKey p/n: 1189-3863-ND
Recent Comments